IMPORTANT: for using the JAVA console, first you need to install Java from the official website: https://java.com/en/
Connect to the VPN
Would you please click on the URL link provided in the ticket and fill in the login form with your credentials?
e.g. https://vpn-xxxxx.Clouvider.net
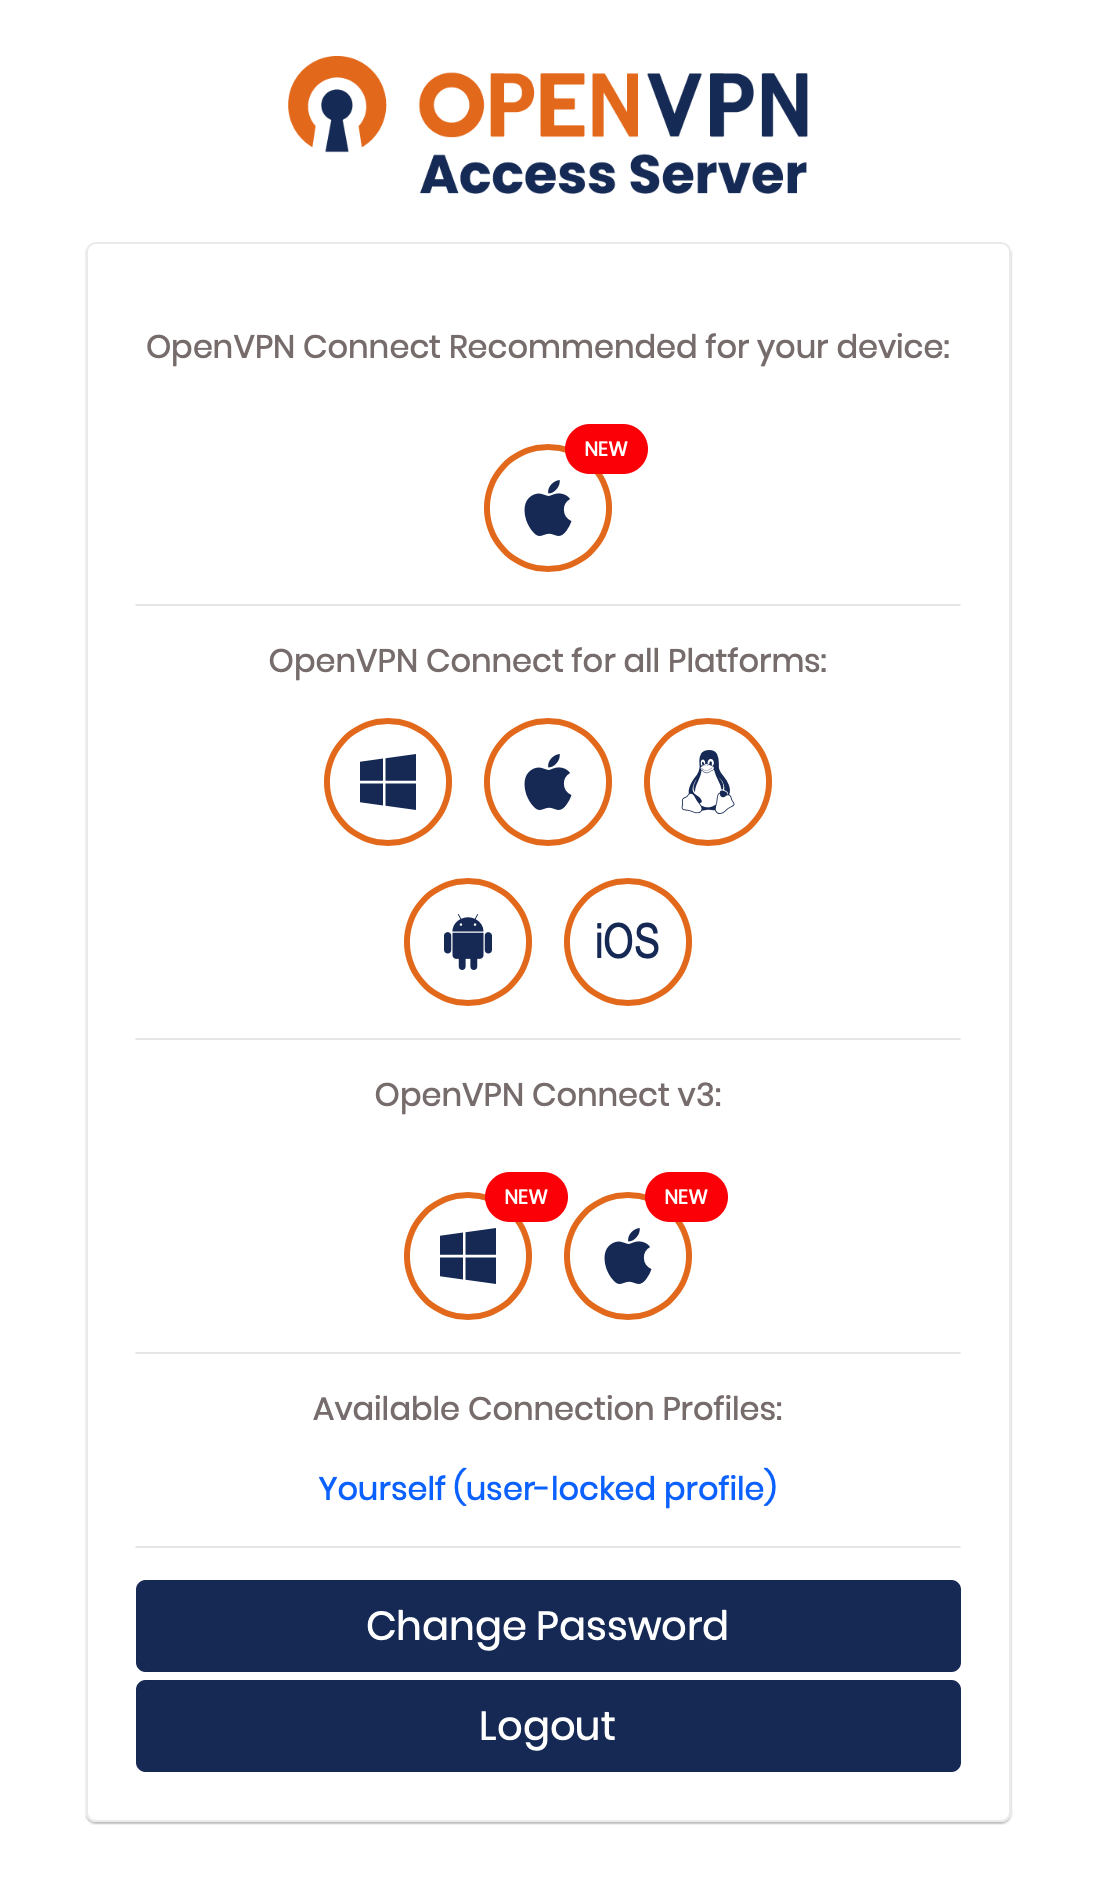
After login, you should be able to see the connection box:

If you don’t already have an installed OpenVPN client, you should download the recommended OpenVPN client for your workstations OS.
Once you have installed the OpenVPN client, or if you already have a client installed then, please download the Connection profile (Yourself user-locked profile)
After you have downloaded the configuration client, please connect with it. This can be done by importing the downloaded file within OpenVPN.
Next, please fill in your credentials into the login dialogue box.
You can now connect to the VPN using the loaded profile.
After connection, you can login into your server’s IPMI interface via a web browser:
Use the details in the e-mail providing you IPMI access to find the servers IP. e.g. 10.x.x.x , please paste this into your chosen web browser and access the IPMI interface.

Please use the provided username and password – these credentials will be different than your VPN Credentials (we would suggest copying and pasting them) and click login.
If you want to install OS from your own ISO, please wait about 15 seconds after connection and click the preview window.
![]()
You will be asked to download the Java applet, which you should run it directly.

When you click launch.jnlp, you will be asked by Java to confirm you wish to run this applet, please click “RUN”:

Please wait a few seconds for the applet to initialise.
Next, you need to mount your chosen ISO, which you can do by using Java applet’s menu Virtual Devices and then select Virtual Storage.

Select ISO File under Logical Drive Type, select your desired ISO image on your local machine via Open Image and then Plug In the media, you can now close this Window and restart the server using the Power control option on the menu. After reboot, by pressing F11 to open the Boot Menu Selector you will be able to select Virtual CDROM inside dialogue box (You may wish to use the virtual keyboard on (Virtual Media > Virtual Keyboard) to do this).

Accessing KVM via HTML5 console
IMPORTANT: In HTML5 console you can’t mount any ISO image!
You can use the HTML5 version console to control your server, just click in the IPMI web interface menu bar “Remote Control” and select iKVM/HTML5 module.

Next, click button iKVM/HTML5 and your console will be launch in browser’s new window.


